Setting Up Kali Linux

What is Kali Linux?
Kali Linux is a secure distribution of Linux derived from Debian and is maintained by Offensive Security. It is a specially designed operating system for penetration testers, cybersecurity experts, network analysts, ethical hackers, forensics experts, etc. It was developed through the rewriting of BackTrack by Mati Aharoni and Dev Kearns of Offensive Security.BackTrack was their previous information security Operating system. The official website of Kali Linux is Kali.org.
Why are we using Kali Linux?
Every operating system has its benefits. Kali Linux is completely free and open source. If you are interested in penetration testing or cybersecurity, you need specific tools to perform some tasks. This is where Kali Linux comes in handy, and It has 600+ Penetration testing and network security tools pre-installed, So you may directly use them without doing any configuration. The number of tools configured and pre-installed on Kali Linux makes it a truly unique operating system.
Kali Linux Installation Methods
- Directly on a PC or Laptop: Kali Linux can be installed directly onto a PC or Laptop using the Kali ISO image. This method is best if you have a spare PC and a familiar with Kali Linux. (Not Recommended for Beginners)
- Virtualized(VMware, Oracle VirtualBox): Kali Linux can be installed virtually in VMware or in VirtualBox using the ISO file. The best thing is we have pre-configured images available for both VMware and VirtualBox.(Recommended for beginners)
- Cloud(Amazon AWS, Microsoft Azure): Both of the cloud services provide Kali Linux images.
- USB Boot Disc: Using Kali ISO, a boot disc can be created to either run Kali Linux on a machine without actually installing it.
- Windows 10(Application): Kali Linux is available in the windows store and can be installed easily.
- Mac(Dual or Single boot ): Kali Linux can be installed on Mac as a primary or secondary operating system.
You can find all the Kali images here.
The easiest way to install Kali Linux is using a pre-configured Virtual Image. Ok, let's see how to set up kali in VMware Workstation using pre-configured Virtual Image.
- You may refer to the article below if you don't know about VMware Workstation.
 Narasimha Tiruveedula
Once you have installed the VMware Workstation, open the application.
Now Download the VMware Kali Linux image from Kali.org, or download it from the below link.
VMware Image Link.
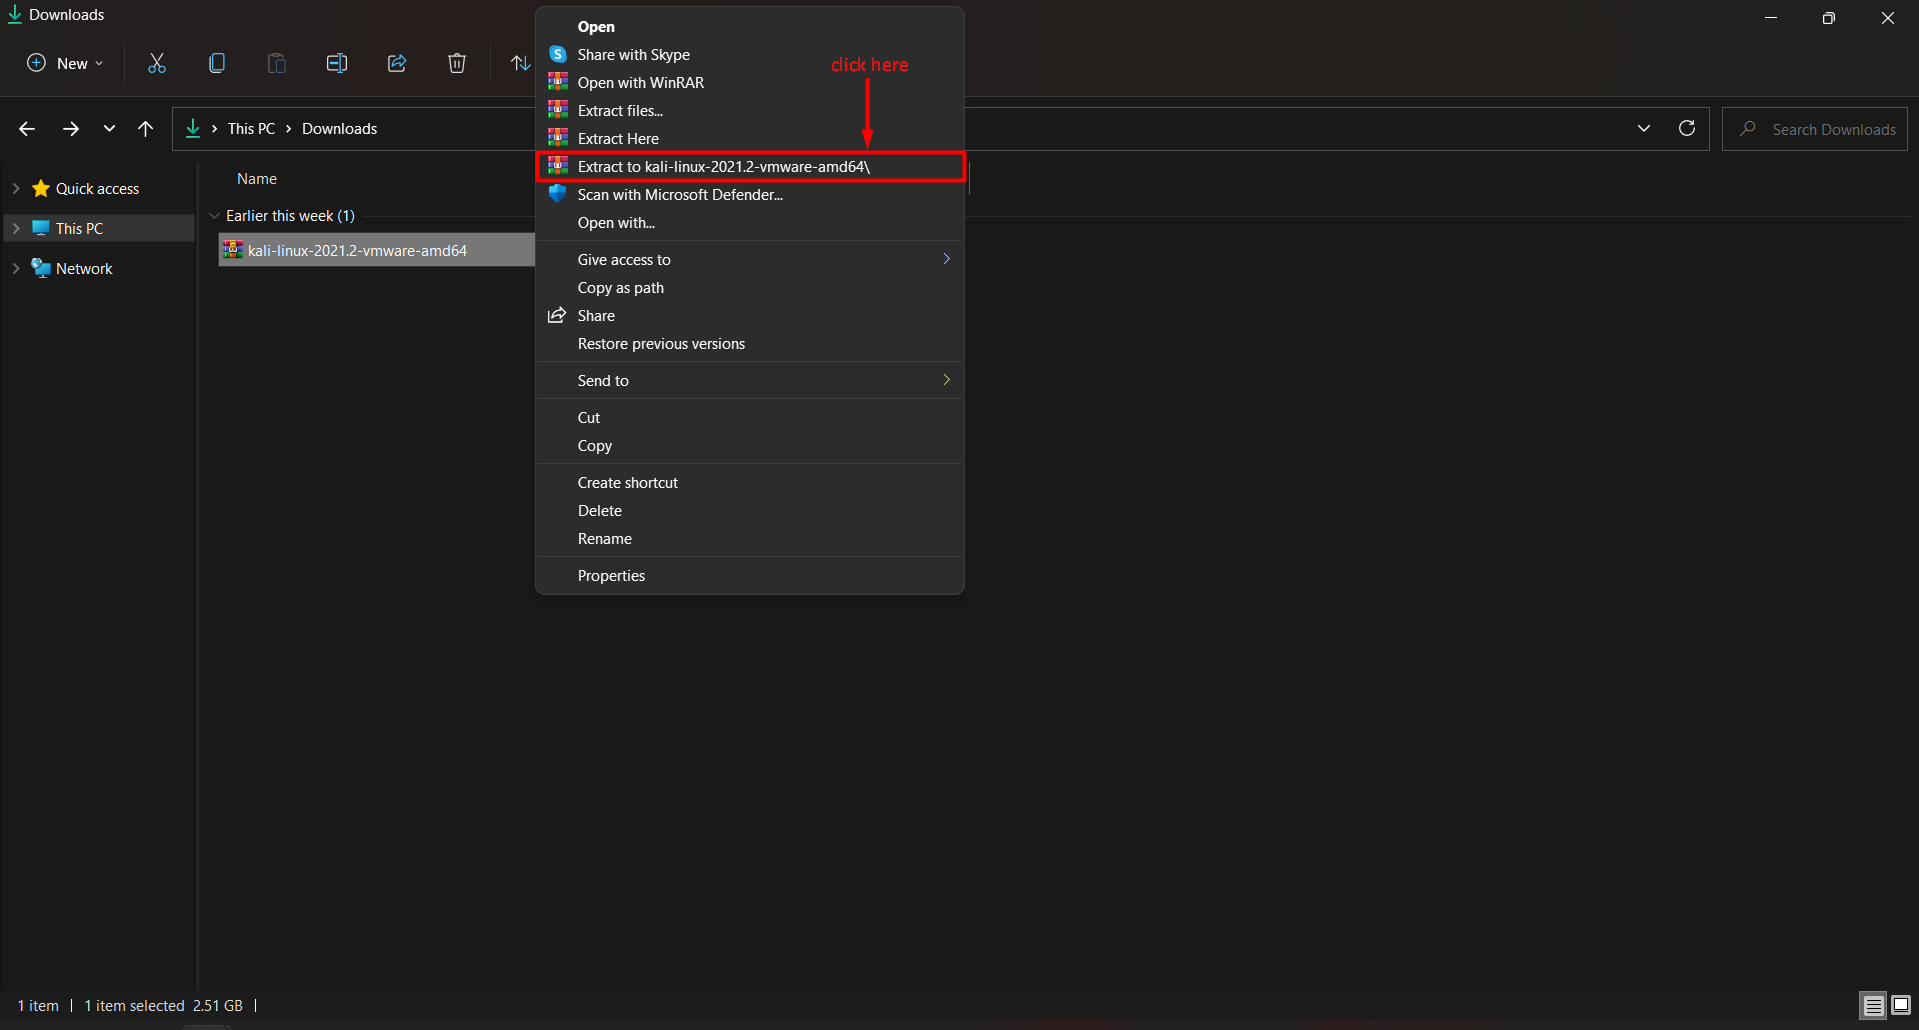
Once you have downloaded the VMware image file, extract the RAR file.
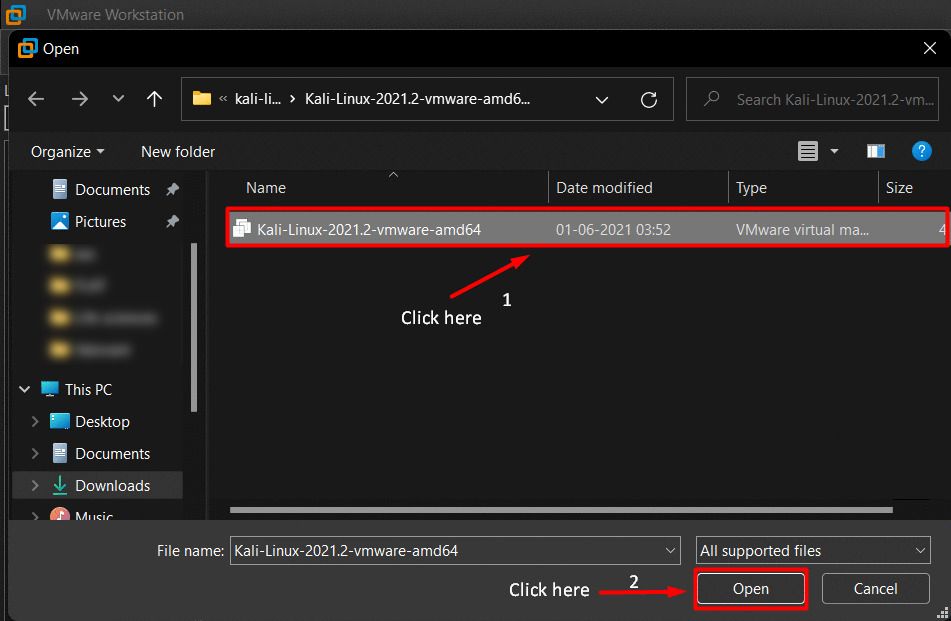
After that, open the VMware application and click on "Open a Virtual Machine."

And you get a pop-up window, Now open the extracted VMware image folder, select the Kali Linux Image (.vmx) file, and click on open.
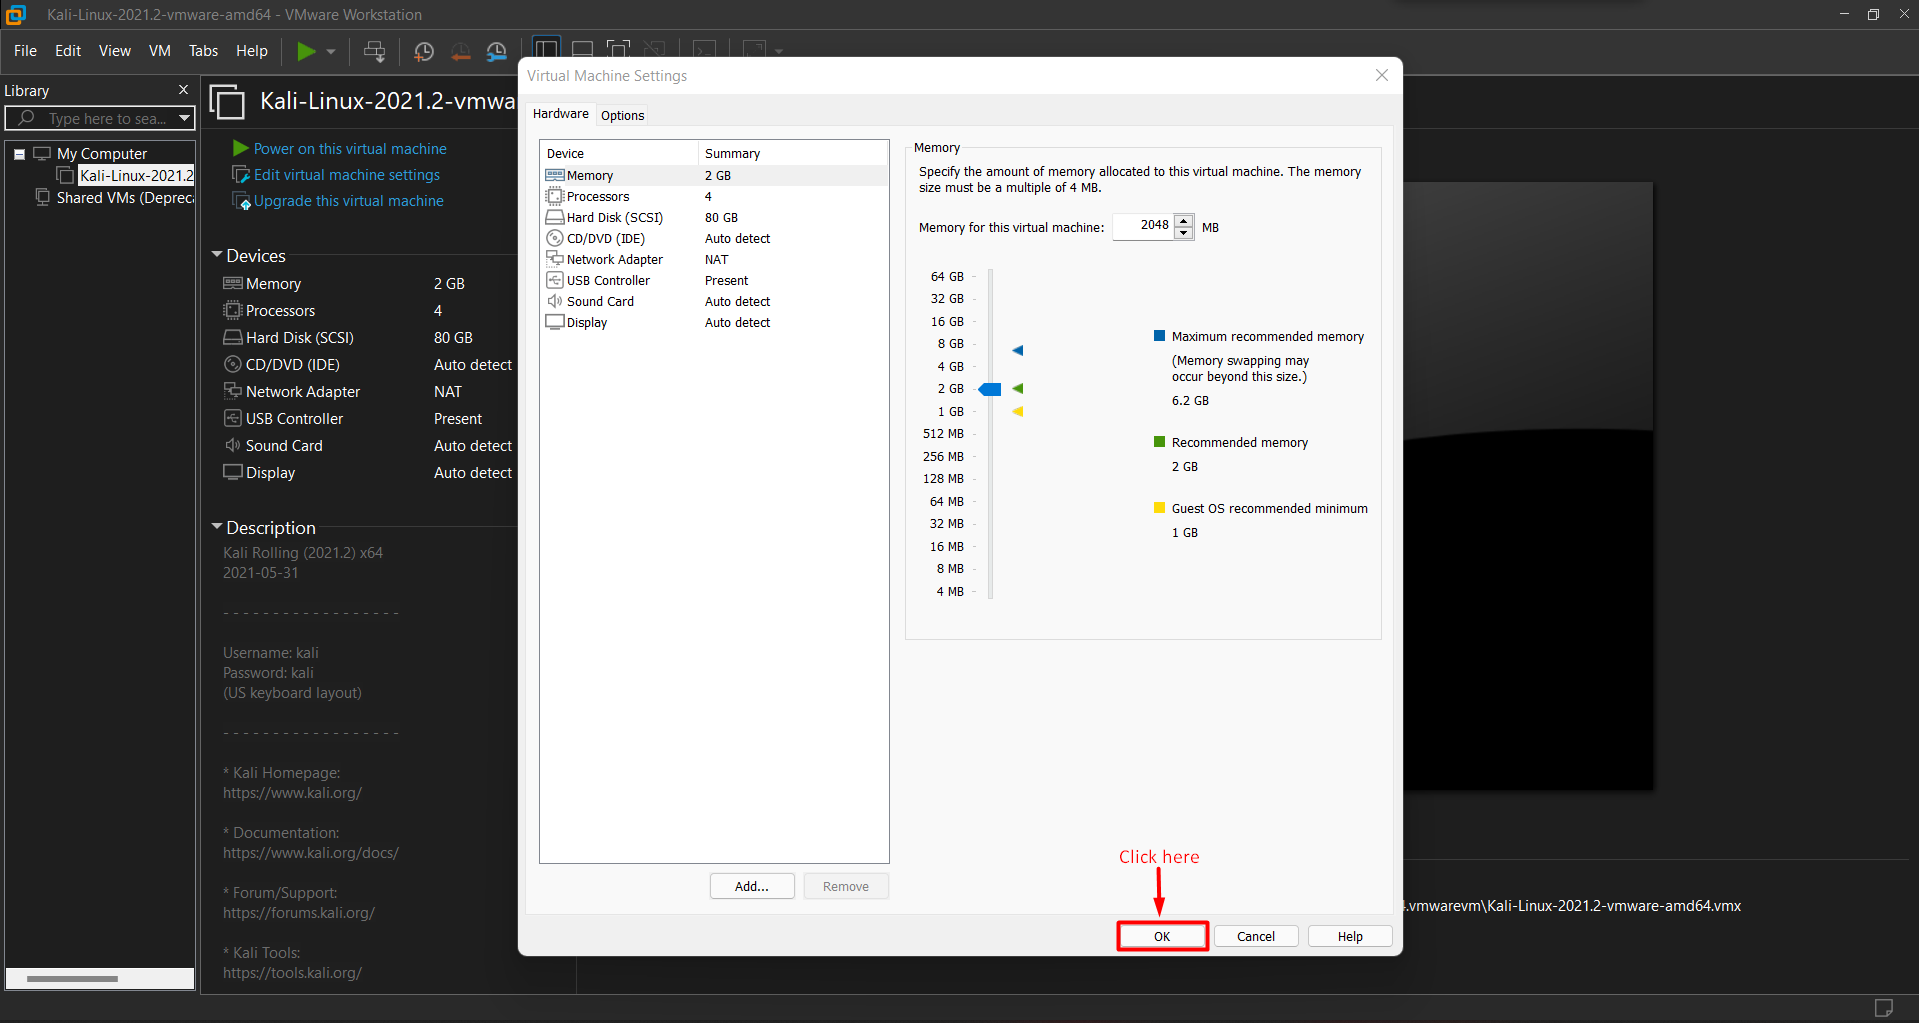
To edit the Kali Linux configurations, click on "Edit Virtual machine settings".

Edit the configurations according to your requirement and click on OK to save.
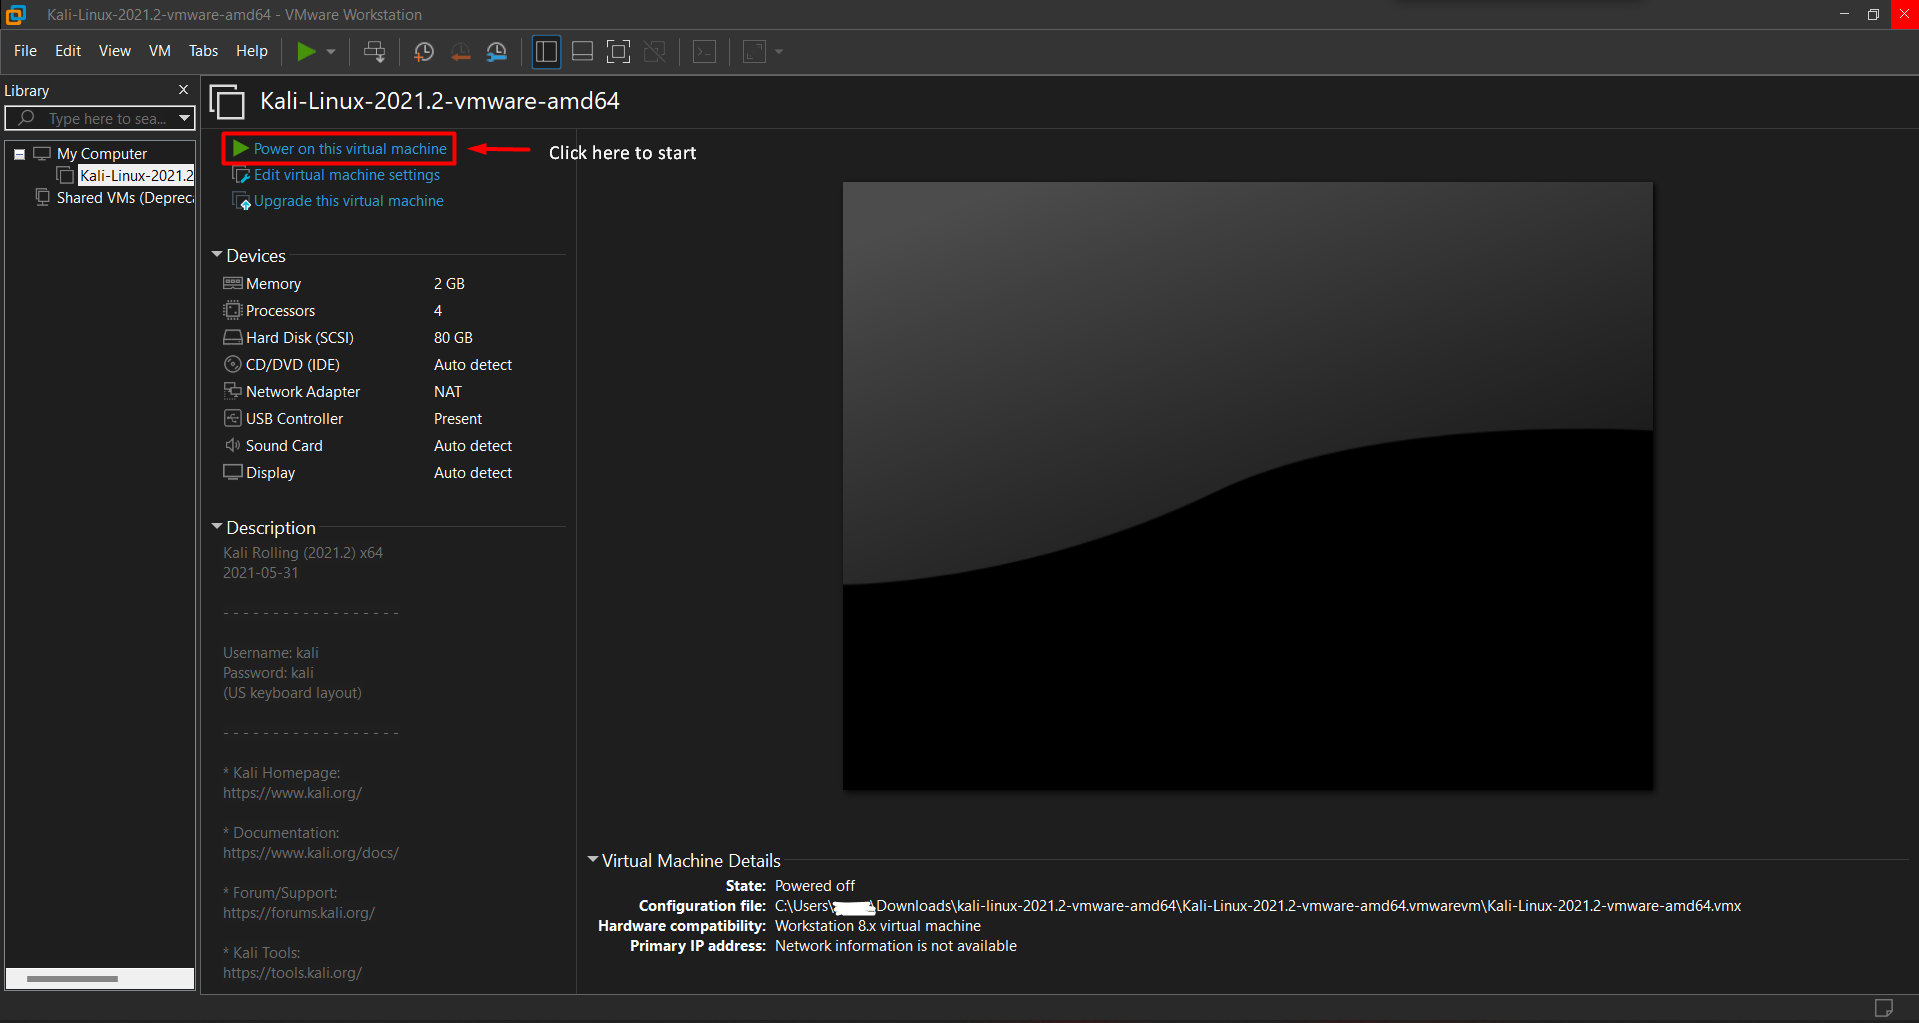
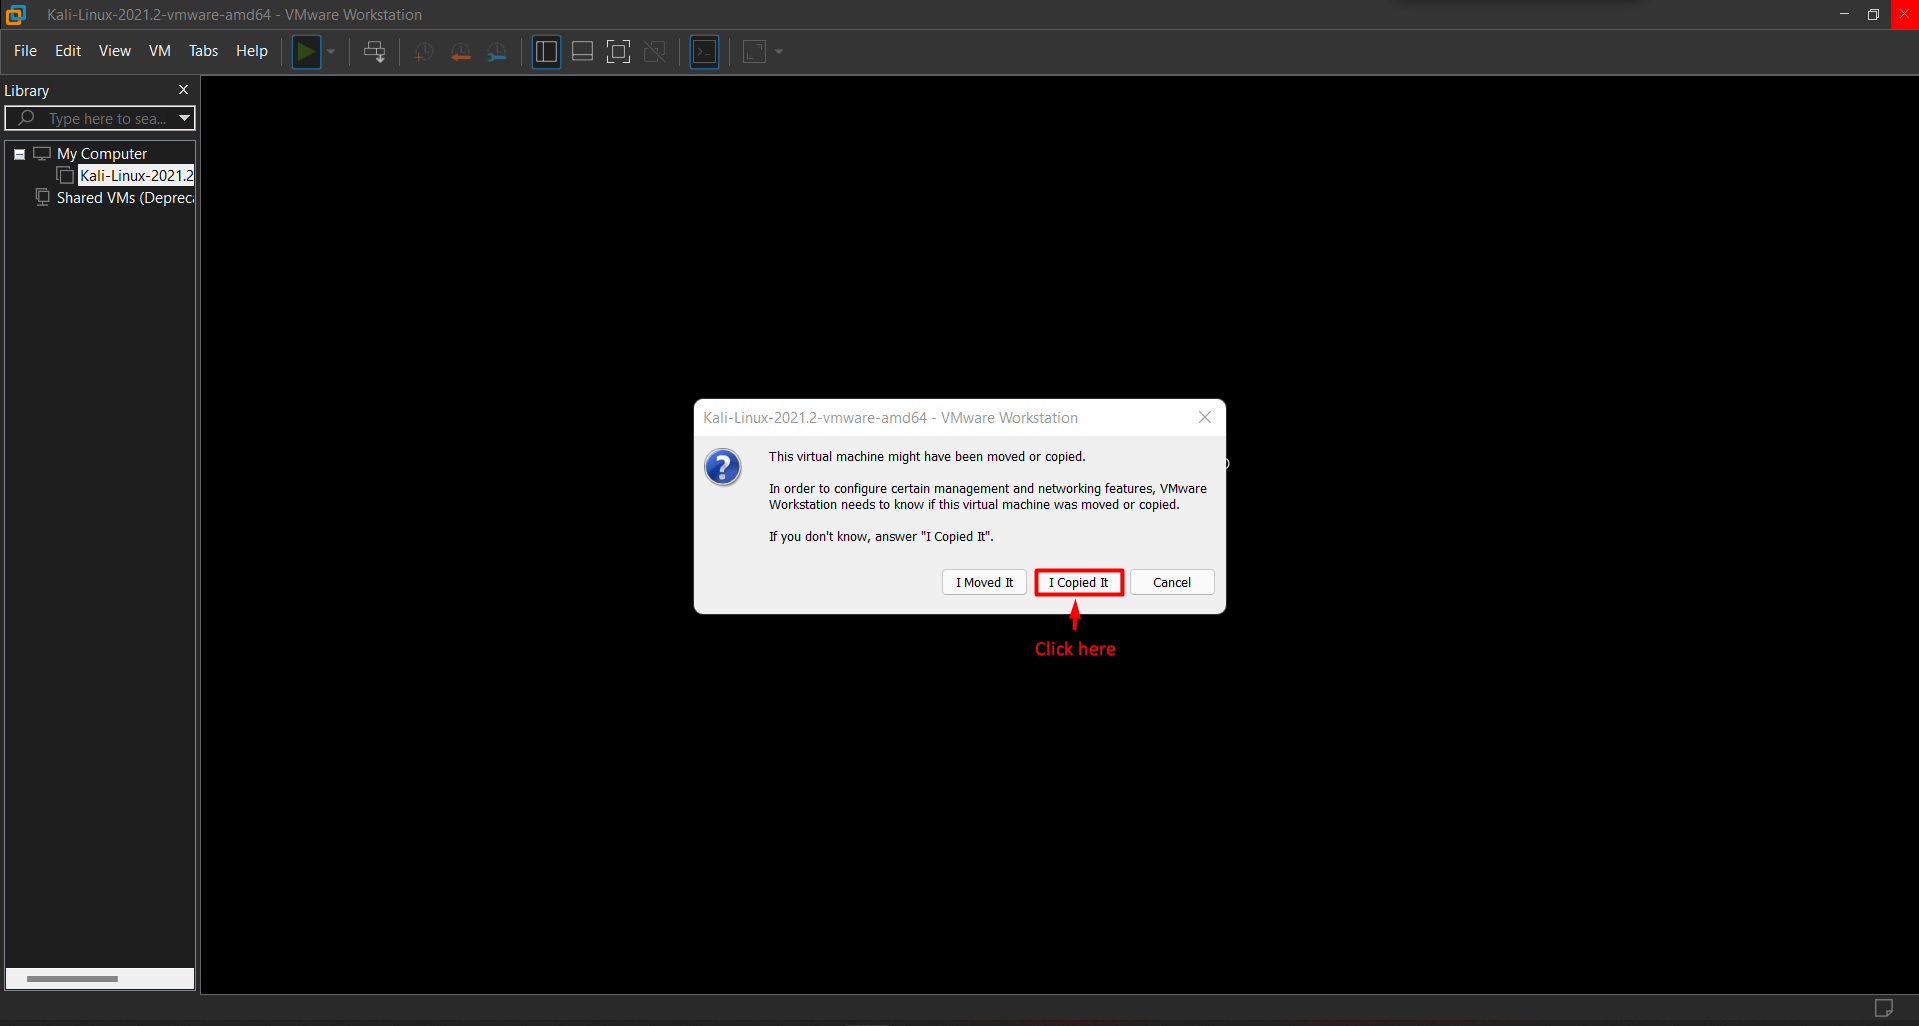
To start the Kali Linux, click on "Power on the Virtual Machine".
When you power on your Kali Linux for the first time, this pop-up will appear. Then click on "I Copied It".
The default Username and Password for Login are:
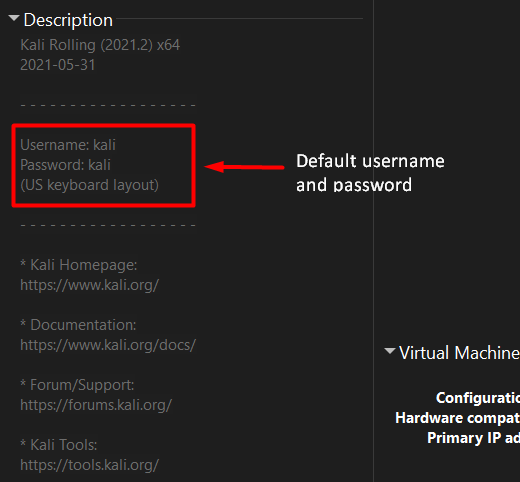
username : kali
password : kali
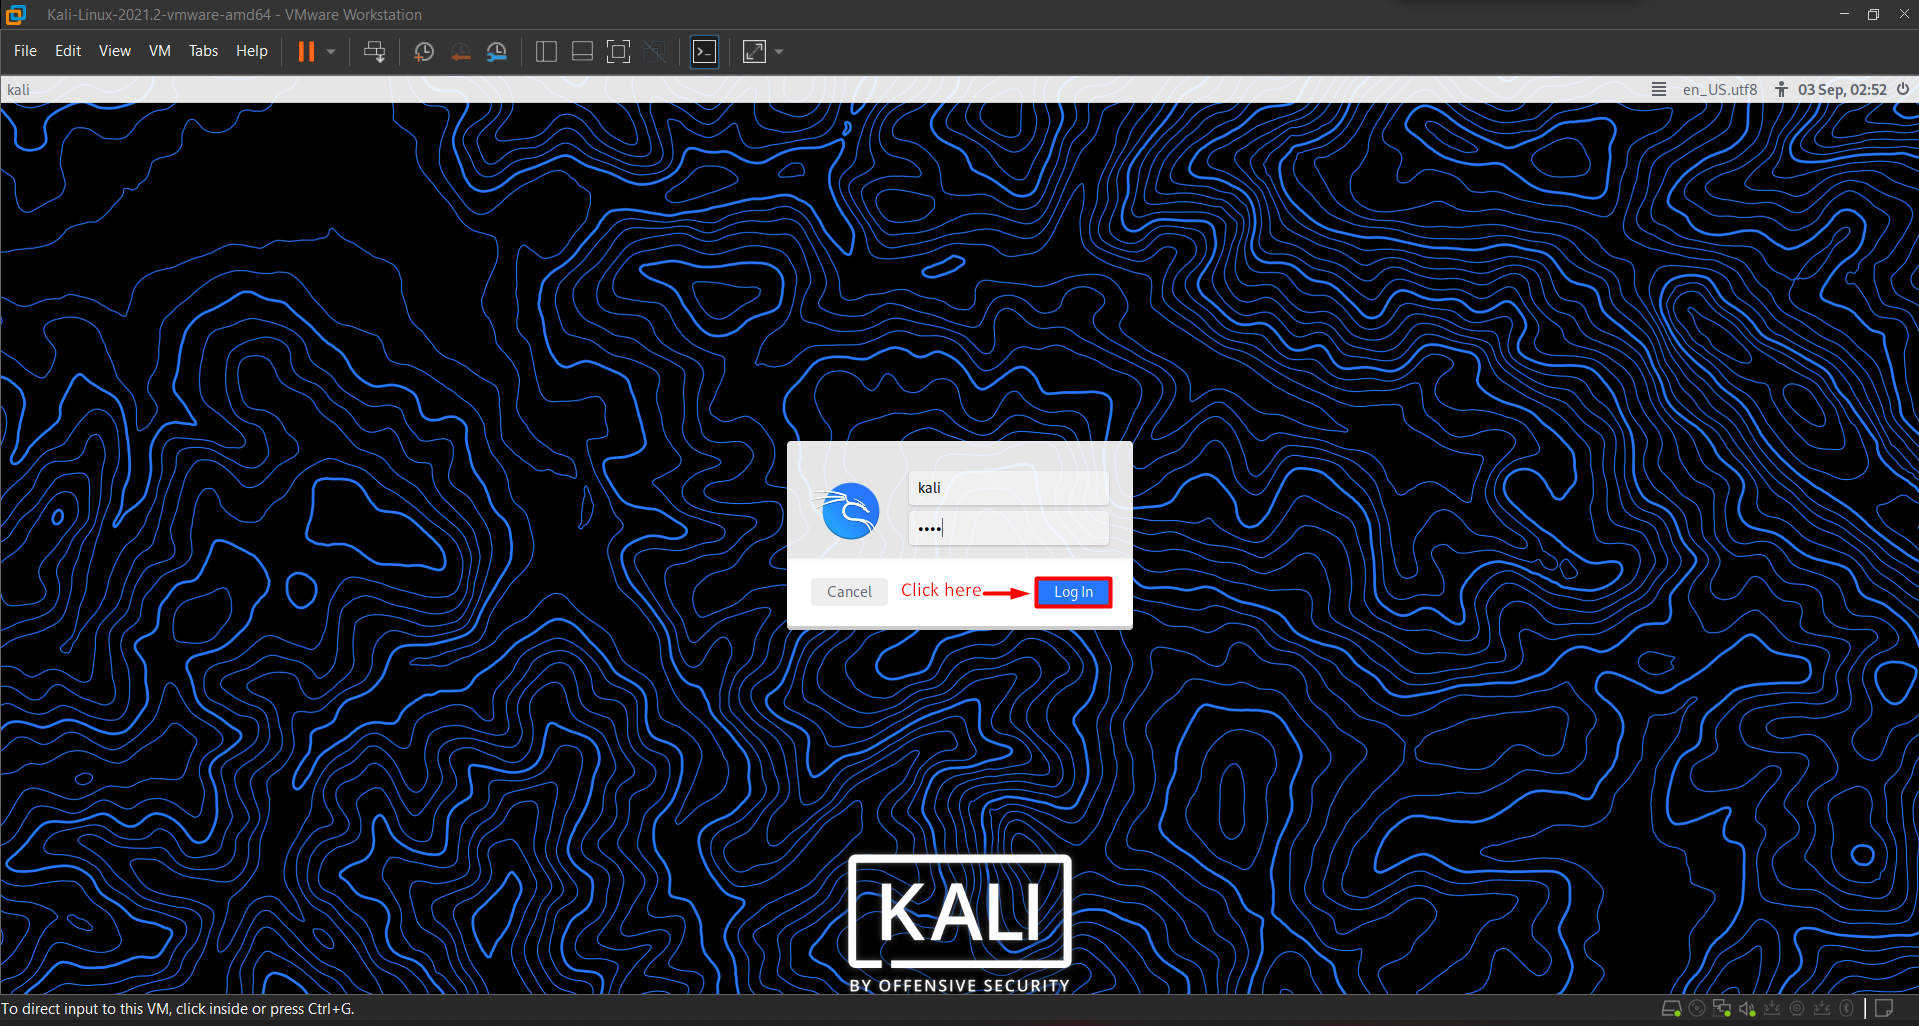
Once you have logged in, You will now be present with the Kali Linux GUI Desktop.
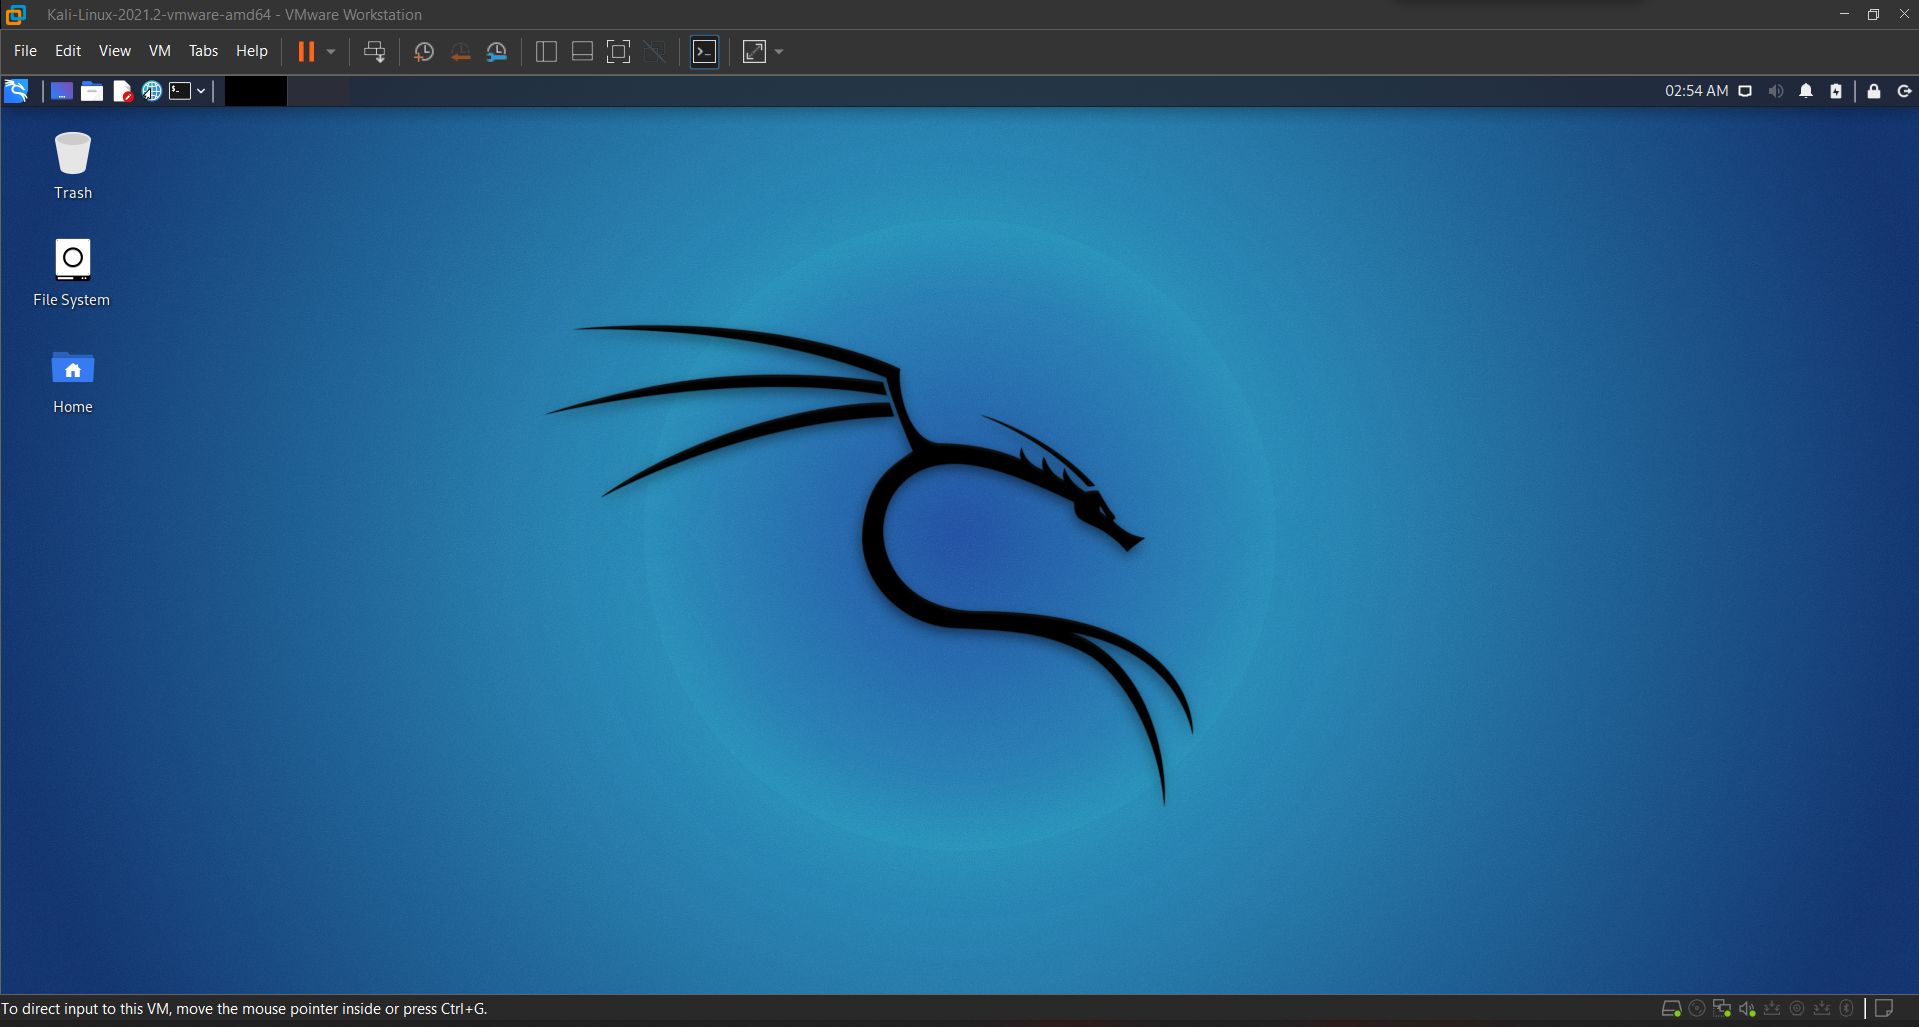
Congratulations, you have successfully logged into Kali Linux.
This is for now :) Thanks for reading! Make sure you subscribe to the blog for more upcoming Linux Articles!
NOTE: The awesome artwork used in this article was created by @Shelter.